| Working with object
placement |
<< >>
|
- Insert an object to your scene and
remember its name. For example you can create a sphere
and scale it by a factor of 0.1. If the basic shapes
like Cube, UVspehre or Cylinder are too simple you can
edit there meshes to form a more sophisticated
shape.
- Select your master object in 3D
view or outliner view.
- Go to the graph view and
press SPACE , select "Sink" and than
"Placement" to insert a placement node.

Every placement node is linked to
exactly one master object. You can switch this link to an
other object. Placement can be used for duplicating lamps
or meta objects too. Feel free to experiment.
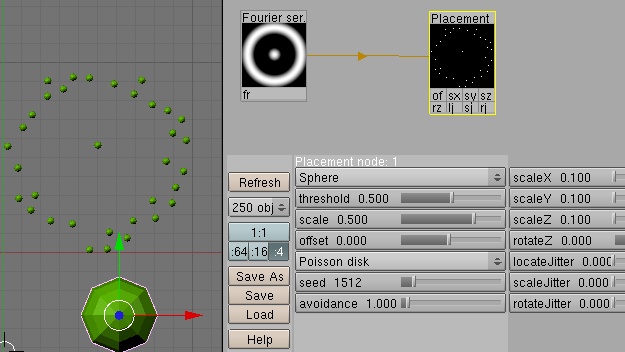
The data input connection is
interpreted as a mask channel. This is a difference to
mesh nodes where data inputs channels represents the
height at this location. The mask channel is applied
after calculating the objects location. You can use this
mask to avoid that objects are distributed all over the
mesh. For example you made a low polygon mesh
representing a tree. The trees master object can be
distributed without overlapping using Poisson disk
sampling. There is a lake in your terrain and you need to
avoid trees standing in that lake. A simple solution is
to use the input channel originally created for the mesh
as mask channel to filter the objects locations.

|


